So, in our last post we talked a little about the paints and techniques that
we use, and as promised, this post is going to be all about
APPLICATION!
I will stress again...you DO NOT have to be a professional to paint,
pick out brushes, or even just attempt a project!
Every artist starts as an amateur, so here's my advice...
start here, with this brush.
we use, and as promised, this post is going to be all about
APPLICATION!
I will stress again...you DO NOT have to be a professional to paint,
pick out brushes, or even just attempt a project!
Every artist starts as an amateur, so here's my advice...
start here, with this brush.
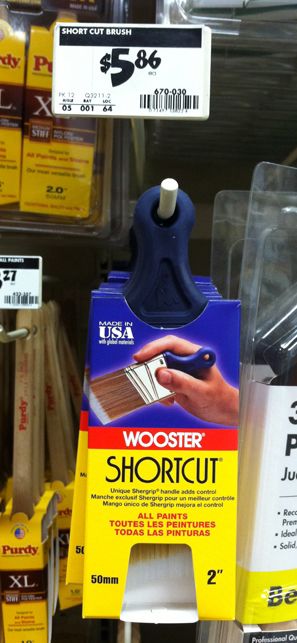
Say hello to the Wooster Shortcut.
It's probably the most versatile brush you could work with, it's a GREAT starter brush,
and it's pretty inexpensive as far as brushes go, coming in under six bucks!
If you're new to this you may say, "Six bucks for a brush?!?!"
Trust me. It's cheap.
This brush will do everything a beginning painter will need,
and they tend to last a pretty long time if you take care of them.
Any brush made by Wooster or Purdy will be a good brush, anything cheaper than that
and you're testing your painting fate! "Chip" brushes that you find at the discount
stores for a buck or two are not to be actually painted with! Lol. Trust me.
They can serve their purpose by applying stain at times and for kids projects!
If you're looking to start out with the creme de la creme of brushes,
visit Annie Sloan's page and read about her specialty brushes here.
Be prepared though, they pack a hefty price tag, BUT, if you're serious about your craft
and are a vigilant brush cleaner, these brushes are amazing and will last.
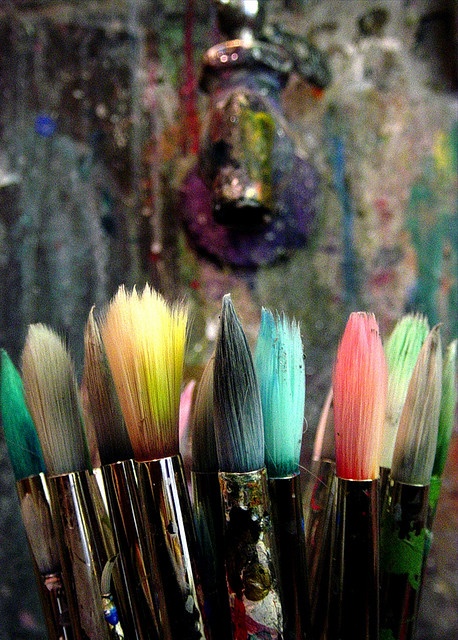
Another word about brushes is the TYPE.
It's good to know that synthetic fiber brushes will give you a silky, smooth finish.
Bristle brushes will show more brush strokes, giving you that hand-painted and
vintage look that is so popular right now.
Longer brushes show less stroke marks than shorter ones as well.
Foam rollers and regular rollers will also give you a stroke free finish,
but may not be useable in all projects.
There are also paint additives that keep your paint wetter longer,
enabling the paint to spread out and become more smooth.
Another remedy for brush strokes is good old sandpaper.
Once your paint is thoroughly dry, give it a light sanding to smooth it out.
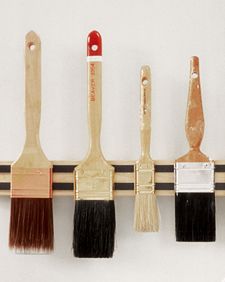
The SHAPE of your brush is also important depending on what you are painting with
and on the actual piece you are painting as well.
I tend to like angled brushes as I feel like you can manipulate them into corners
and small spaces easier than flat brushes.
For applying waxes, cone or pointy shaped rough bristle brushes work best. They
enable you to work the wax into small detailed spots with ease.
There is always a bit of trial and error when it comes to developing a method that
feels right to YOU. What works for one of us, may feel totally wrong to the next.
Just work on finding the brushes that FIT you. You will know it when you do!
It's good to know that synthetic fiber brushes will give you a silky, smooth finish.
Bristle brushes will show more brush strokes, giving you that hand-painted and
vintage look that is so popular right now.
Longer brushes show less stroke marks than shorter ones as well.
Foam rollers and regular rollers will also give you a stroke free finish,
but may not be useable in all projects.
There are also paint additives that keep your paint wetter longer,
enabling the paint to spread out and become more smooth.
Another remedy for brush strokes is good old sandpaper.
Once your paint is thoroughly dry, give it a light sanding to smooth it out.
The SHAPE of your brush is also important depending on what you are painting with
and on the actual piece you are painting as well.
I tend to like angled brushes as I feel like you can manipulate them into corners
and small spaces easier than flat brushes.
For applying waxes, cone or pointy shaped rough bristle brushes work best. They
enable you to work the wax into small detailed spots with ease.
There is always a bit of trial and error when it comes to developing a method that
feels right to YOU. What works for one of us, may feel totally wrong to the next.
Just work on finding the brushes that FIT you. You will know it when you do!
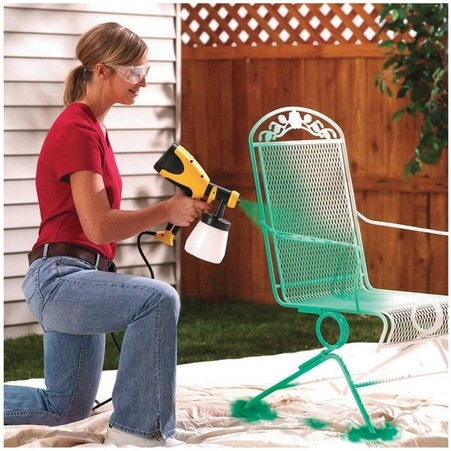
The next step up from brushes would be an industrial sprayer.
(Forgive this picture, please. Most of us know that we NEVER look like
this while we paint. I'm normally still in my pajamas, COVERED
with said paint. And you'll never catch me in those bug goggles! or smiling like that! lol!)
There are MANY different ones on the market and a good
rule of thumb to follow is "you get what you pay for."
This is definitely a more expensive route, but will save you time and give you
a professional, stroke free finish. Sprayers range from fairly easy to use to a total pain.
Do your homework, read reviews, and if at all possible test one out before you
invest in a machine. It will take some time to become comfortable with how your machine works also, so test runs are a must! Some will spit little blobs of paint when you first start
painting, so you'll literally need to LEARN your machine once you buy it.
Sprayers also need to be cleaned vigilantly after
every use in order to maintain a consistent spray and finish.
Ask your friendly Home Depot, Lowe's, or Sherwin Williams associate
about their favorite one, or the one that they sell the most of,
that will give you a better idea of what works well.
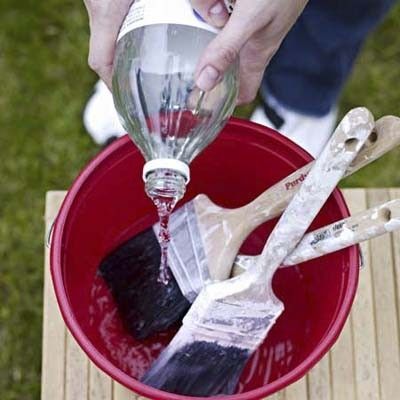
Now, in order to keep your brushes in TIP TOP shape, you're going to want to clean them
out after every use. I am a tried and true Dawn Dish Soap girl. I will swear by that
soap till the day I die, but if you want a more eco-friendly option, you
can soak your brushes in vinegar for up to 30 minutes. For heavy paint you can do
the same, only boil the vinegar and take them off after 15 minutes.
Mineral spirits/turpentine/acetone are other options for brush cleaner,
but are all classified as irritants, so use these with caution
and make sure to dispose of them properly when you're done.
That's the basics! Not too overwhelming hopefully!
I encourage you to pick a piece and start small.
Don't overwhelm yourself before you have given yourself the ability to learn
and get comfortable. It's a process, so give yourself a break.
Perfectionism isn't an option!
And please, SHARE YOUR CREATIONS!
With us, with your family and friends...their feedback will be a confidence
booster that is invaluable for your motivation!
Here's to Happy Painting!
Tara, Jess K., Lesley,
DeDe, Jess S. &
Amy


 RSS Feed